Customize AI in Visual Studio Code
Visual Studio Code gives you several ways to teach the AI about your codebase, coding standards, and workflows. This article introduces the customization options and helps you get started. You can manage customizations from both the Chat view and the Agents window.
Learn about the different customization types and when to use each one.
Choose a customization type
VS Code offers several customization options, each suited to a different goal:
-
Define coding standards: custom instructions
-
Automate tasks and workflows: prompt files and agent skills
-
Specialize the AI: custom agents and language models
-
Connect external tools and data: MCP servers and hooks
-
Install pre-packaged bundles: agent plugins (preview)
To compare the options and decide which one fits your goal, see Customization concepts. The rest of this article focuses on how to set up and manage customizations.
Get started
The most effective approach is to adopt customizations incrementally. Start with project-wide instructions, then add more specific customizations as you identify recurring needs. For a hands-on walkthrough, see the Customize AI for your project guide.
-
Set up project instructions: type
/initin chat to generate a.github/copilot-instructions.mdfile with coding standards tailored to your codebase. -
Add targeted instructions: create
*.instructions.mdfiles that apply to specific languages, frameworks, or folders in your codebase. -
Automate repetitive tasks: create prompt files for common workflows, such as generating tests or scaffolding components.
-
Specialize the AI for specific roles: create custom agents, and package reusable capabilities as agent skills to share across projects and tools.
-
Connect external tools and data: add MCP servers and hooks to extend the AI with external services and custom actions.
You can generate customization files with AI. Type /create-instruction, /create-prompt, /create-skill, /create-agent, or /create-hook in chat to scaffold a new customization with AI assistance.
Manage customizations in the editor
The Agent Customizations editor is currently in preview.
The Agent Customizations editor provides a centralized UI for creating and managing all your agent customizations in one place. The editor organizes the different customization types into separate tabs and provides an embedded code editor for editing customization files with syntax highlighting and validation.
You can create new customizations from scratch by editing the corresponding Markdown, or use AI to generate initial content based on your specific project.
To add MCP servers and agent plugins, you can browse the corresponding marketplace directly from the editor, install new items, and manage existing ones.
You can open the Agent Customizations editor from either chat surface:
In the Agents window, select a customization type in the Customizations panel below the sessions list.
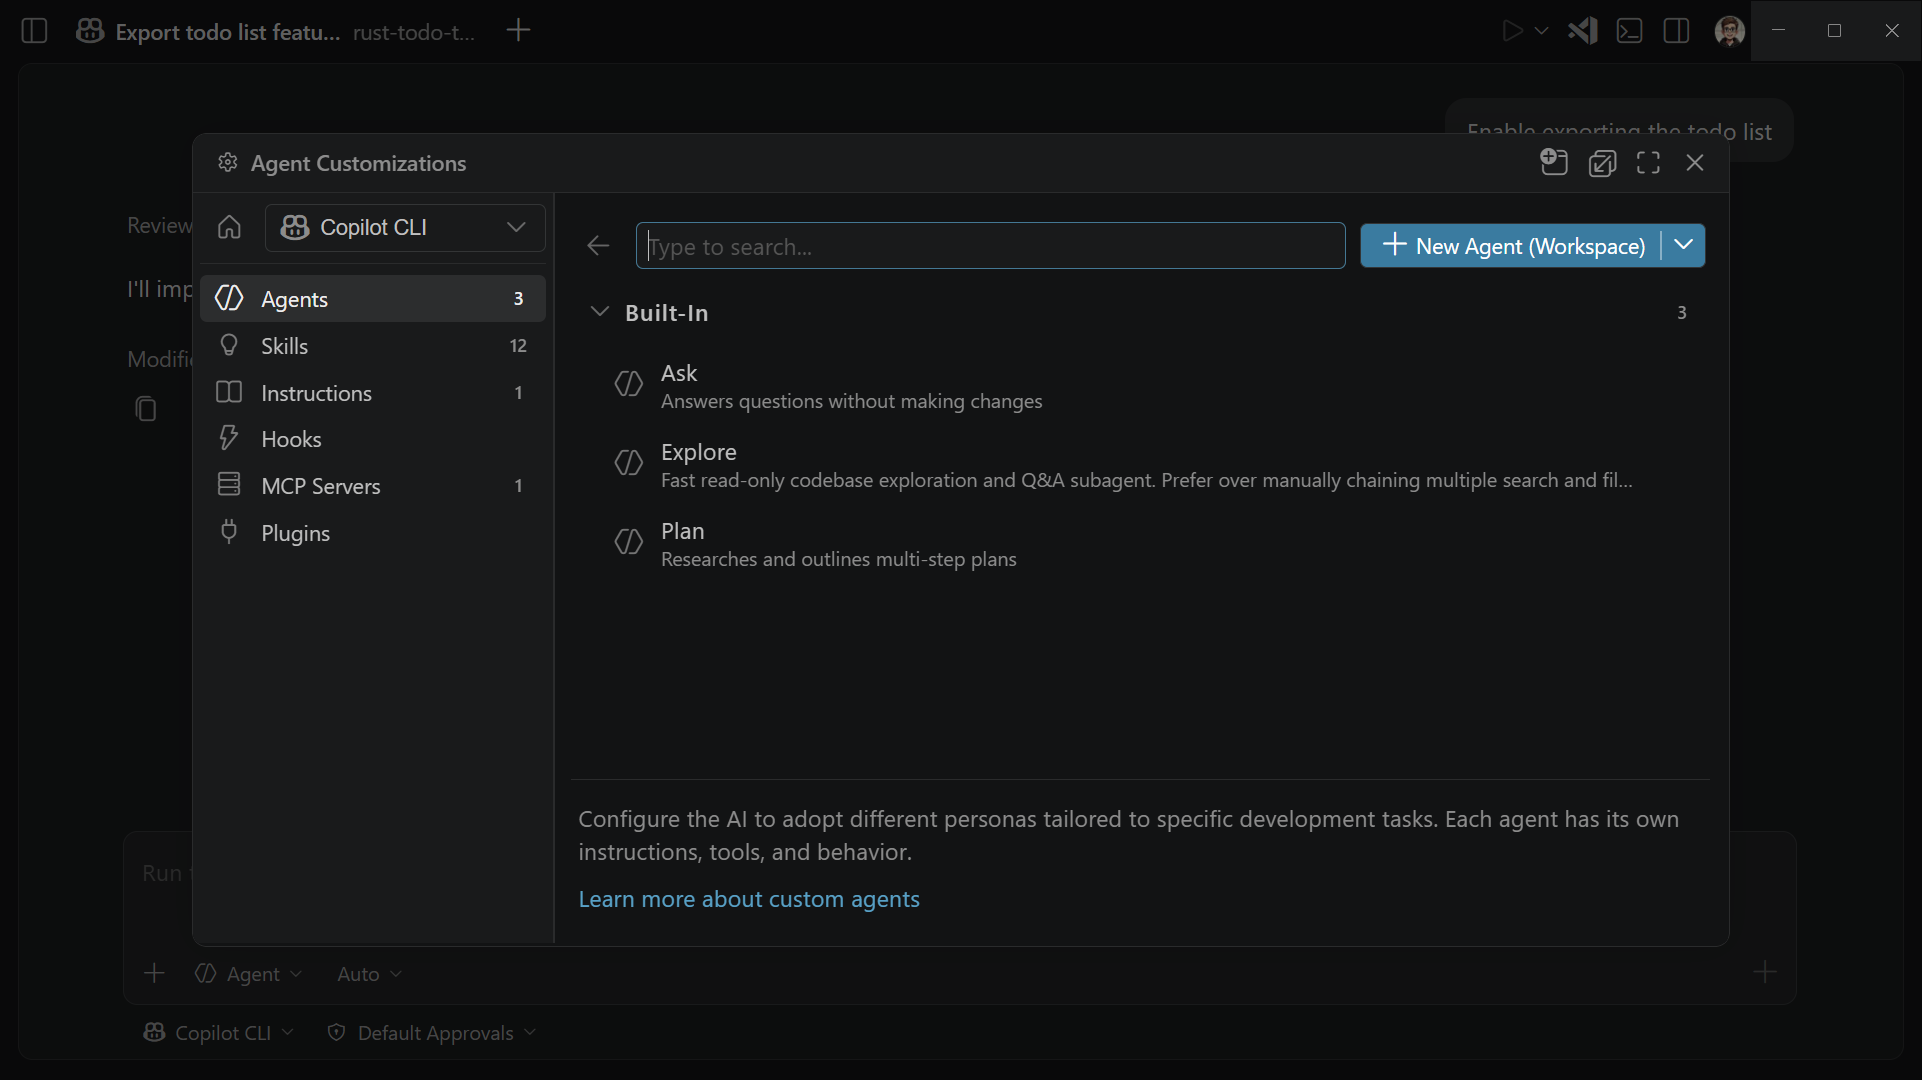
In the Chat view, select the Configure Chat (gear icon) or run Chat: Open Customizations from the Command Palette (⇧⌘P (Windows, Linux Ctrl+Shift+P)).
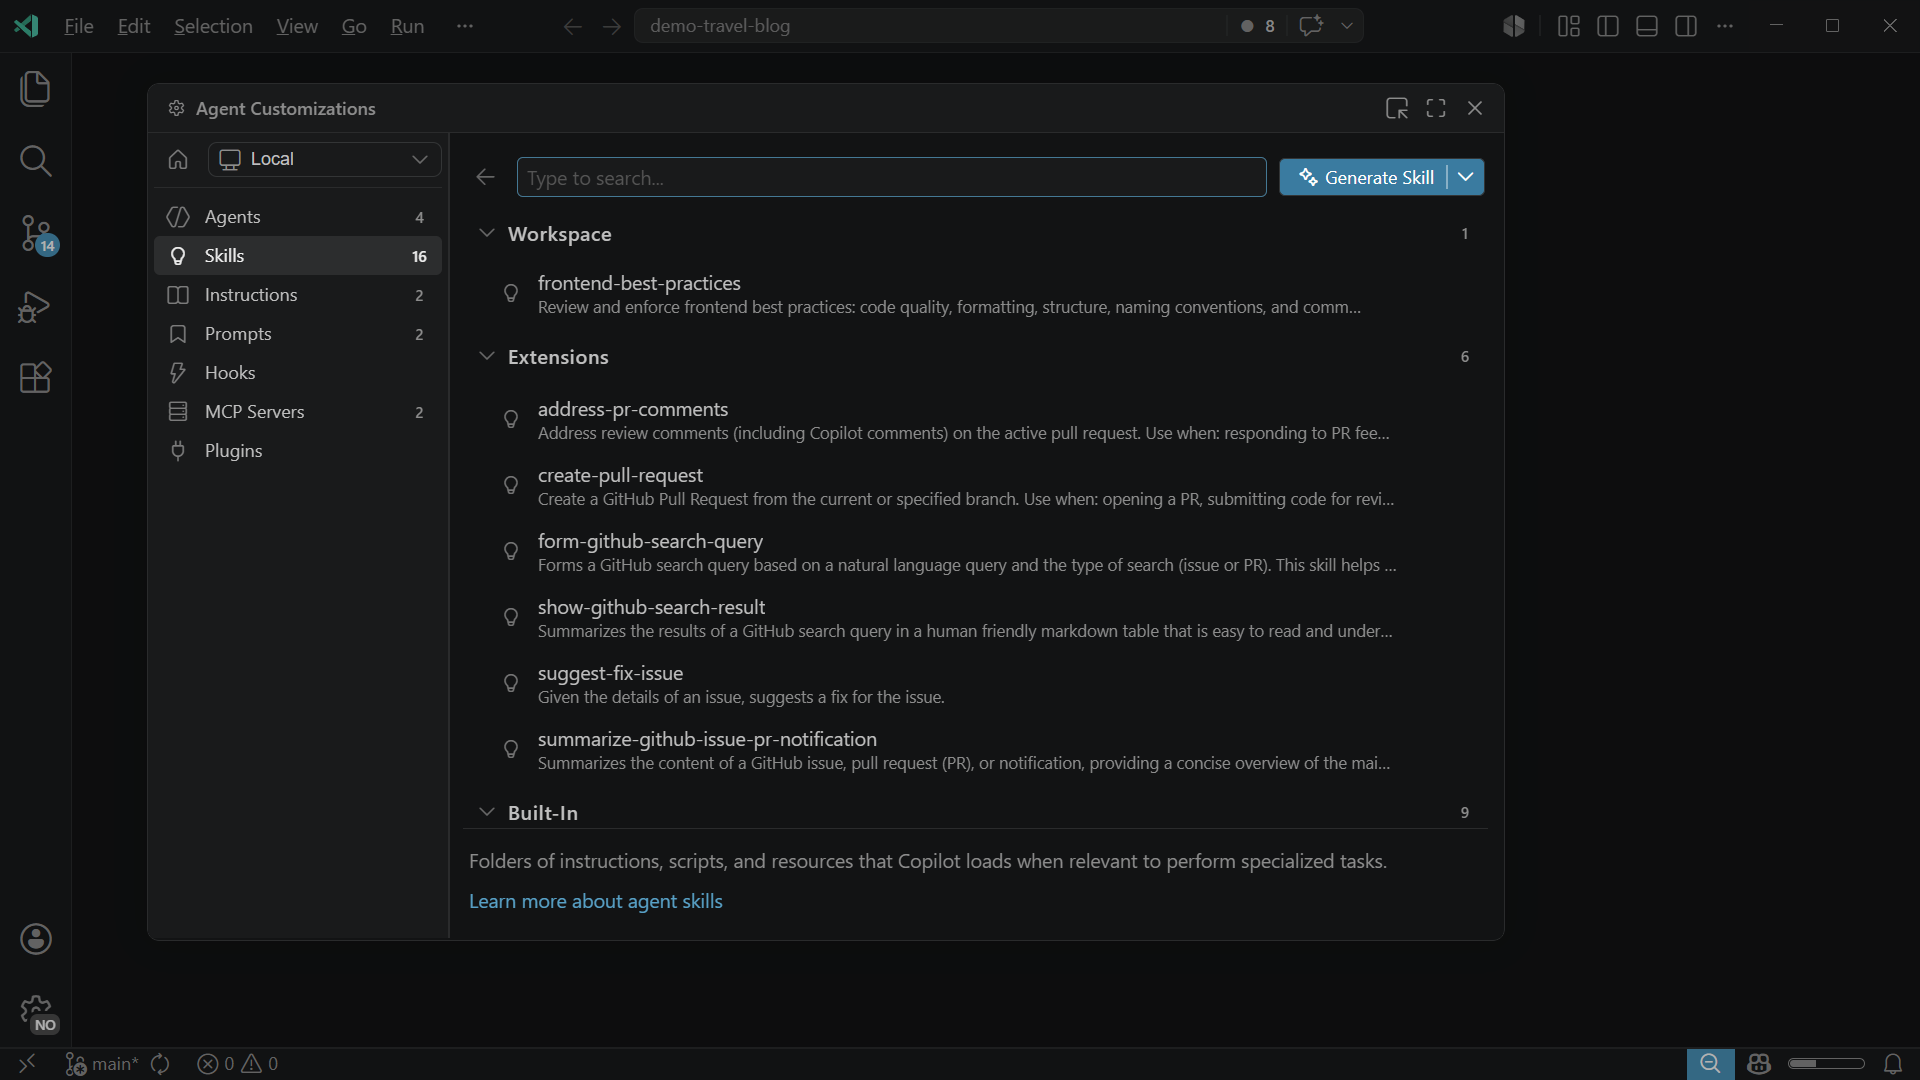
You can configure customization for different agent types: local agents, Copilot CLI, and the Claude agent. Select the agent type from the dropdown at the top of the editor to view and manage customizations for that agent type.
Use customizations in a monorepo
In monorepo setups, you might open a subfolder of a repository in VS Code rather than the repo root. By default, Visual Studio Code only discovers customization files within your open workspace folder(s). Enable the chat.useCustomizationsInParentRepositories setting to also discover customizations from the parent repository.
When this setting is enabled, VS Code walks up the folder hierarchy from each workspace folder until it finds a .git folder. If found, it collects customizations from all folders between the workspace folder and the repository root (inclusive). This applies to all customization types: always-on instructions (copilot-instructions.md, AGENTS.md, CLAUDE.md), file-based instructions, prompt files, custom agents, agent skills, and hooks.
For example, consider the following monorepo structure:
my-monorepo/              # repo root (has .git folder)
├── .github/
│   ├── copilot-instructions.md
│   ├── instructions/
│   │   └── style.instructions.md
│   ├── prompts/
│   │   └── review.prompt.md
│   └── agents/
│       └── reviewer.agent.md
├── packages/
│   └── frontend/          # opened as workspace folder
│       └── src/
If you open only packages/frontend/ in VS Code and enable the setting, VS Code discovers the customization files at the repo root, such as copilot-instructions.md, style.instructions.md, review.prompt.md, and reviewer.agent.md.
Conditions for parent repository discovery:
- The workspace folder does not contain a
.gitfolder (it is not itself a repository root). - A parent folder contains a
.gitfolder. - The parent repository folder is trusted. VS Code prompts you to trust the parent folder when the workspace is opened.
The chat.useCustomizationsInParentRepositories setting is disabled by default.
Troubleshoot customization issues
If your customizations aren't being applied or cause unexpected behavior, open the Agent Debug Logs panel to troubleshoot agent issues. Run Developer: Open Agent Debug Panel from the Command Palette (⇧⌘P (Windows, Linux Ctrl+Shift+P)), or in the Chat view select the ellipsis (...) menu and select Show Agent Debug Logs.