Manage chat sessions
Use chat in Visual Studio Code to have conversation-based AI interactions. A chat session consists of the sequence of prompts and responses between you and the AI, along with any relevant context from your code or files. This article describes how to create and manage chat sessions, export chat sessions, and how to view the chat session history.
What is a chat session?
A chat session is a single conversation with the AI, including all prompts, responses, and context. Each session is independent, so context from one session does not carry over to another.
Key things to know about chat sessions:
- Context window: as you chat, the session accumulates context. Creating a new session clears the history and starts a fresh context window. You can monitor context window usage in the chat input box.
- Checkpoints: at any time, you can roll back to a previous state or edit a previous prompt to change direction. Learn more about checkpoints.
- Session types: sessions can run locally, in the background, or in the cloud. Learn more about agents.
- Multiple sessions: regardless of the session type, you can run multiple sessions in parallel, each focused on a different task. With the agent sessions view, you can monitor and switch between sessions. Learn more about managing agent sessions.
Start a new chat session when you want to change topics to help the AI provide more relevant responses.
Start a new chat session
You can open chat sessions in different views, depending on how you prefer to work. At any time, you can run multiple sessions in parallel, each focused on a different task.
To start a new chat session, use the New Chat (+) button in the Chat view, or use the keyboard shortcut ⌘N (Windows, Linux Ctrl+N).
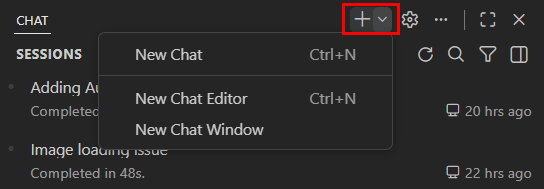
Choose where to open the session:
-
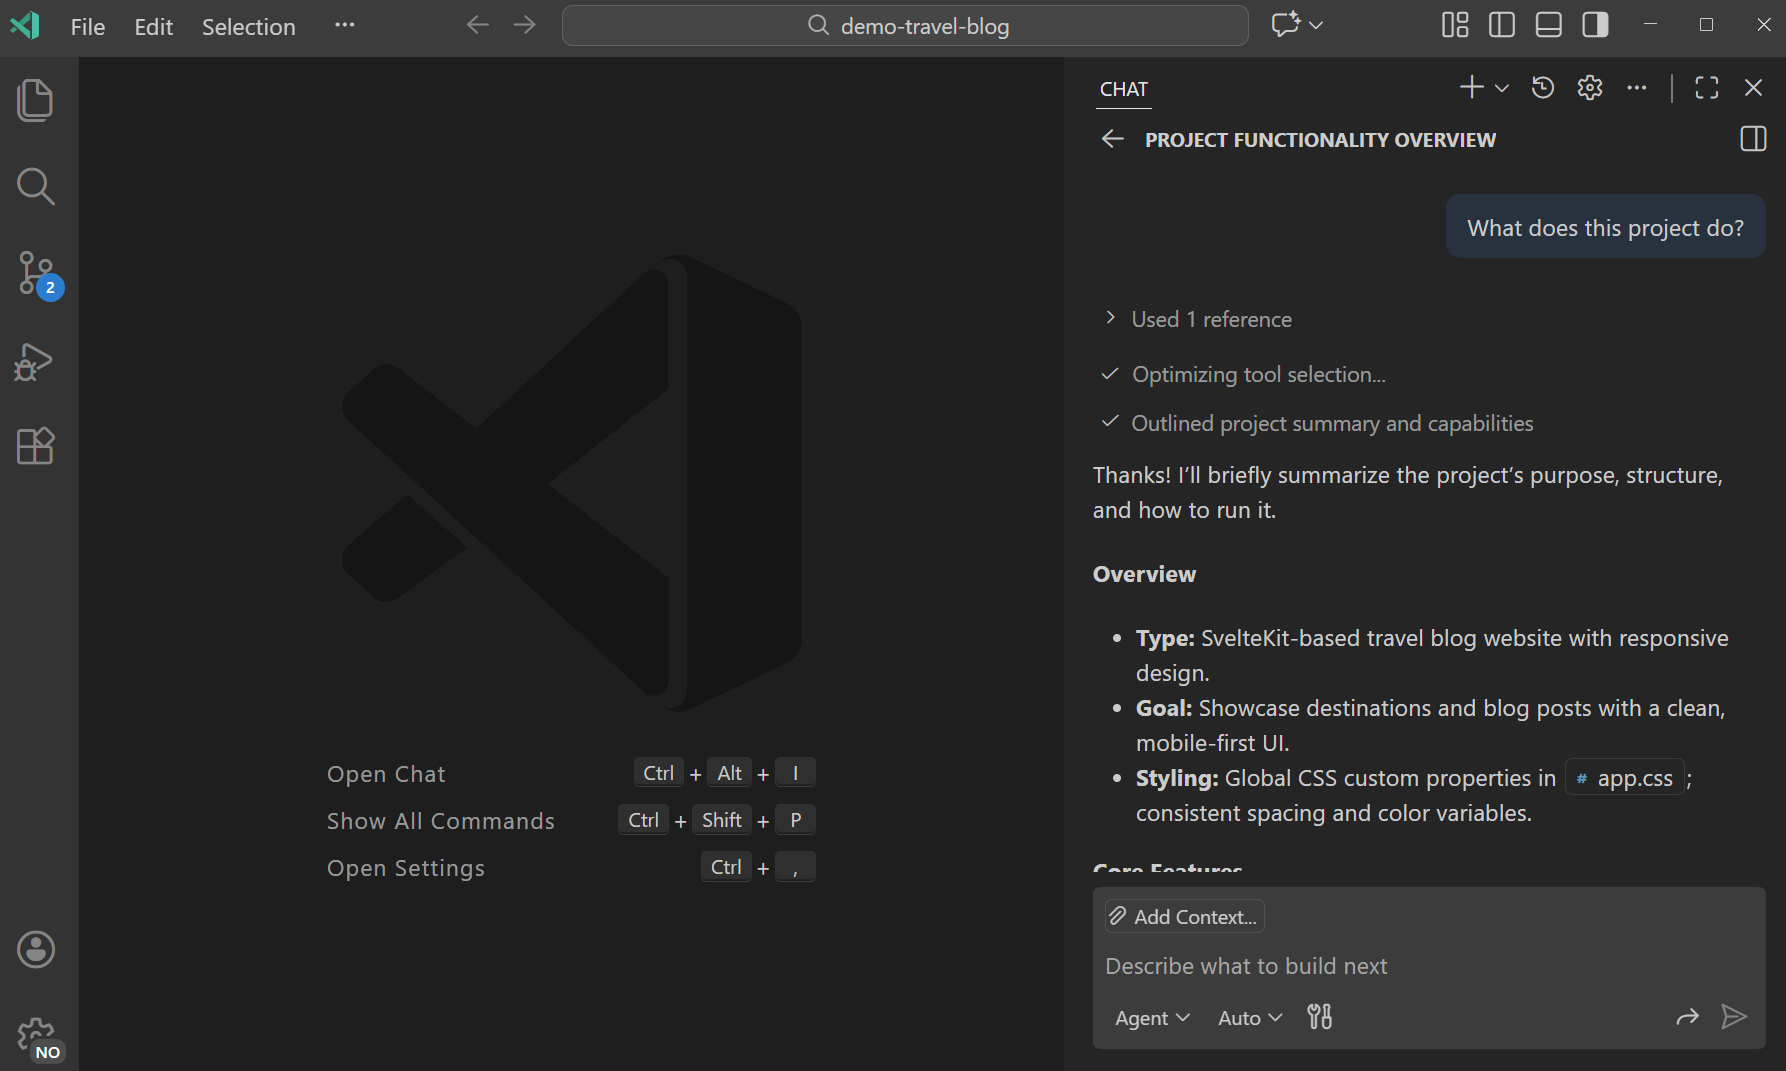
Side bar (default): select New Chat (+) > New Chat, or run the Chat: New Chat command. Best for keeping chat visible alongside your code.
-
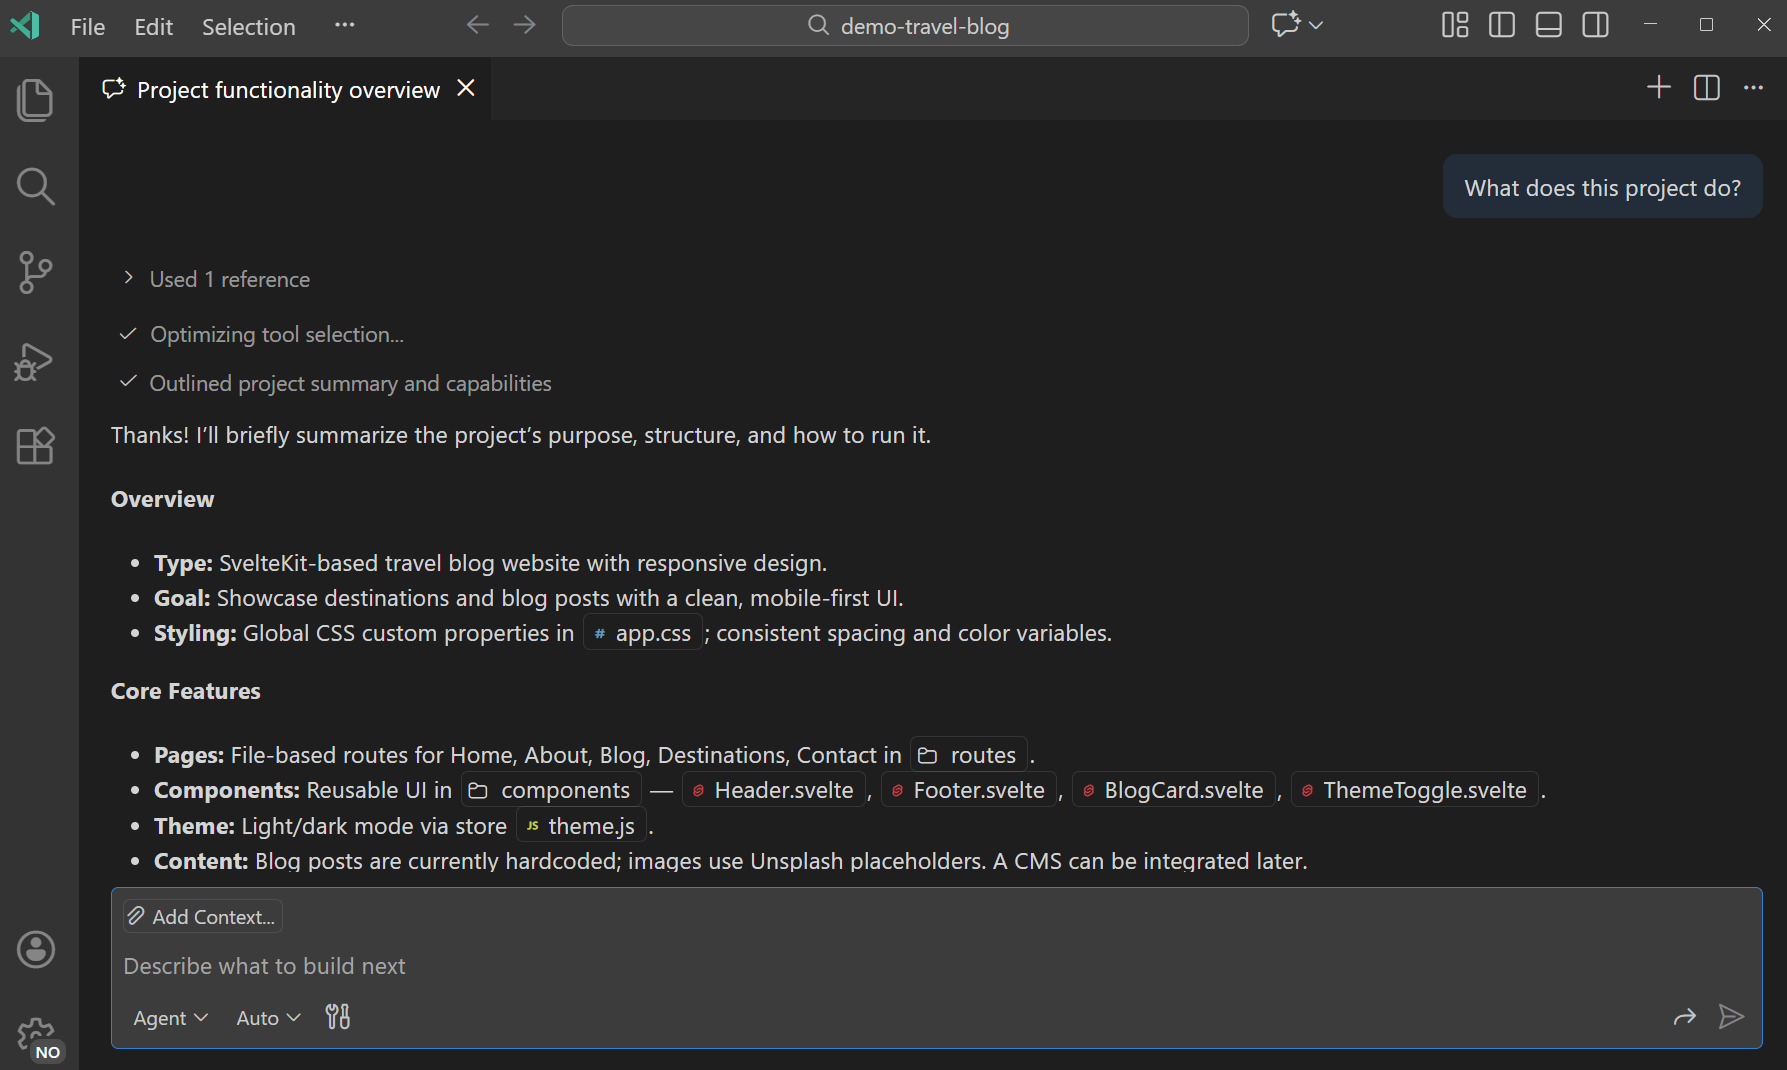
Editor tab: select New Chat (+) > New Chat Editor, or run the Chat: New Chat Editor command. Best for giving chat more space or comparing sessions side by side.
-
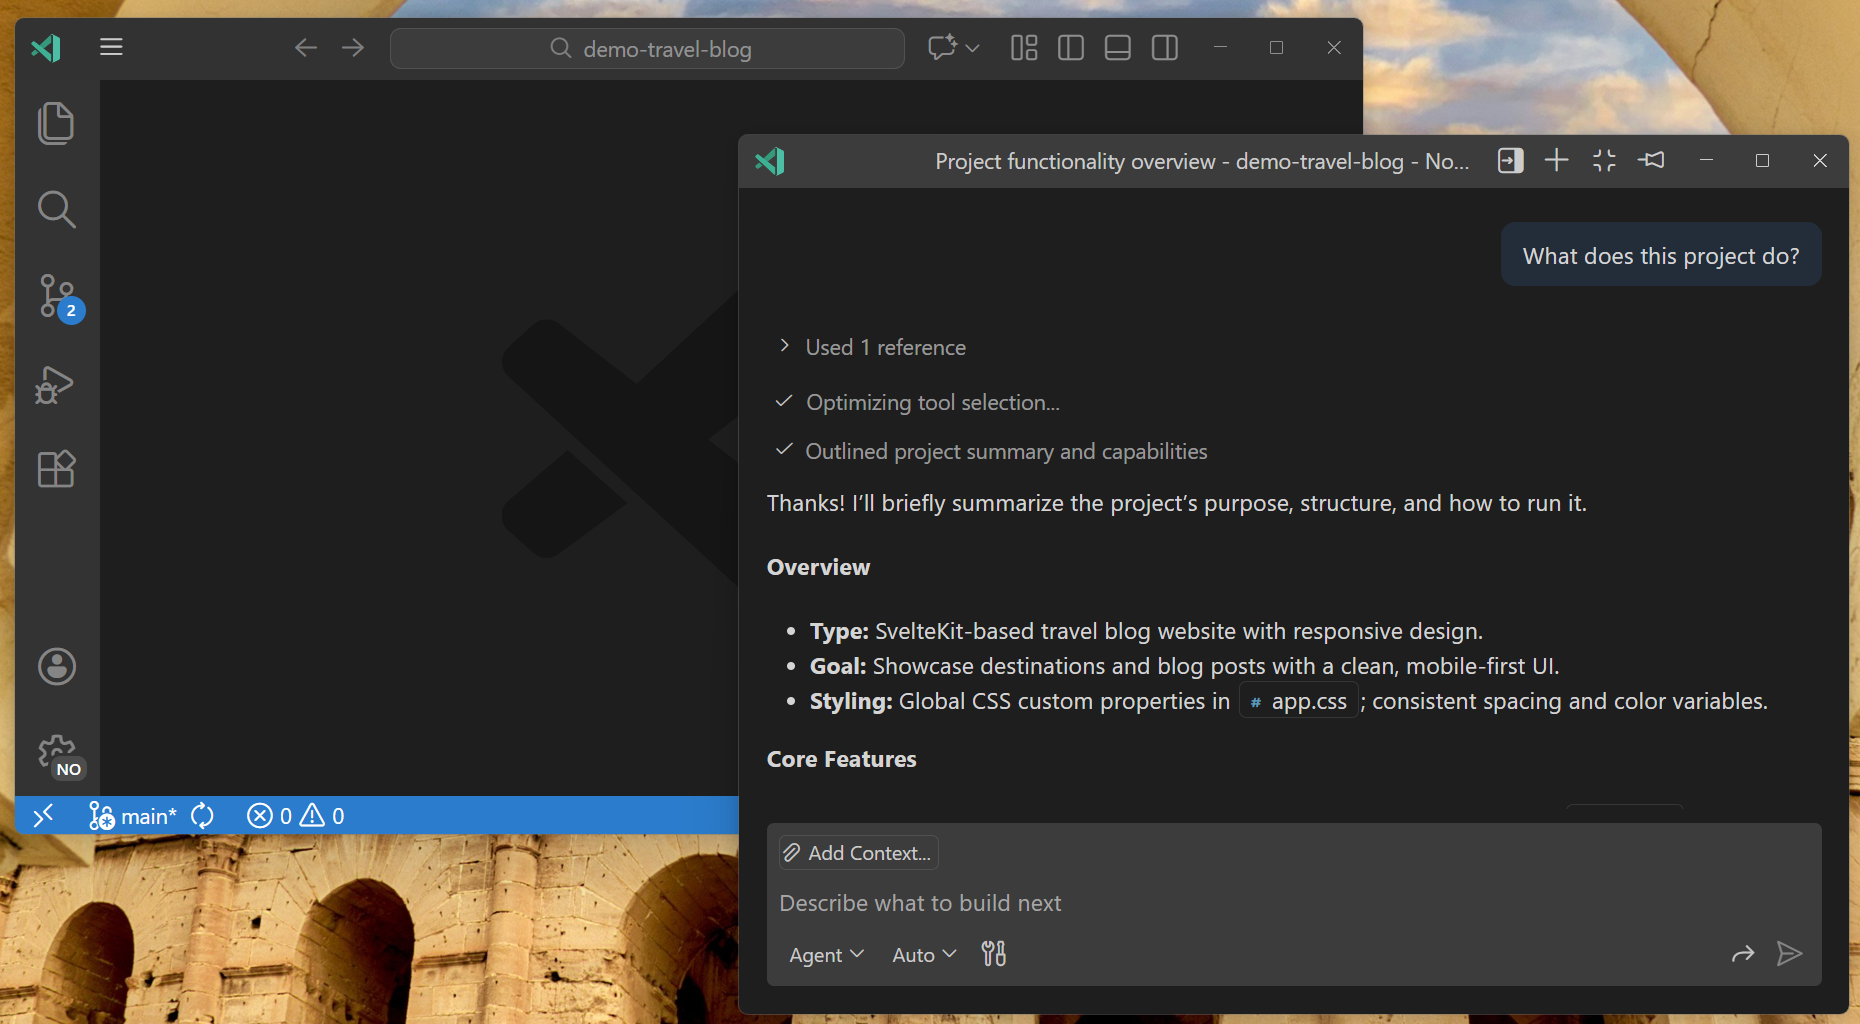
Separate window: select New Chat (+) > New Chat Window, or run the Chat: New Chat Window command. Best for multi-monitor setups.
VS Code also supports different session types (local, background, cloud, and third-party) that determine where the AI runs. Learn more about agent types and session management.
Move a chat session to a different view
You can move an existing chat session between views at any time. The full conversation history and context are preserved.
Select the ... menu in the Chat view, editor tab, or chat window and choose one of the Move Chat into... options.
Alternatively, choose any of the following commands from the Command Palette:
- Chat: Move Chat into Editor Area
- Chat: Move Chat into New Window
- Chat: Move Chat into Side Bar
Session history
The Chat view shows your recent and active chat sessions, regardless of where they run. When you select a session from the list, you can see the full conversation history and context for that session. Send new prompts in that session to continue the conversation.
You can have multiple sessions active at once and switch between them to compare different conversations or work on multiple tasks in parallel.
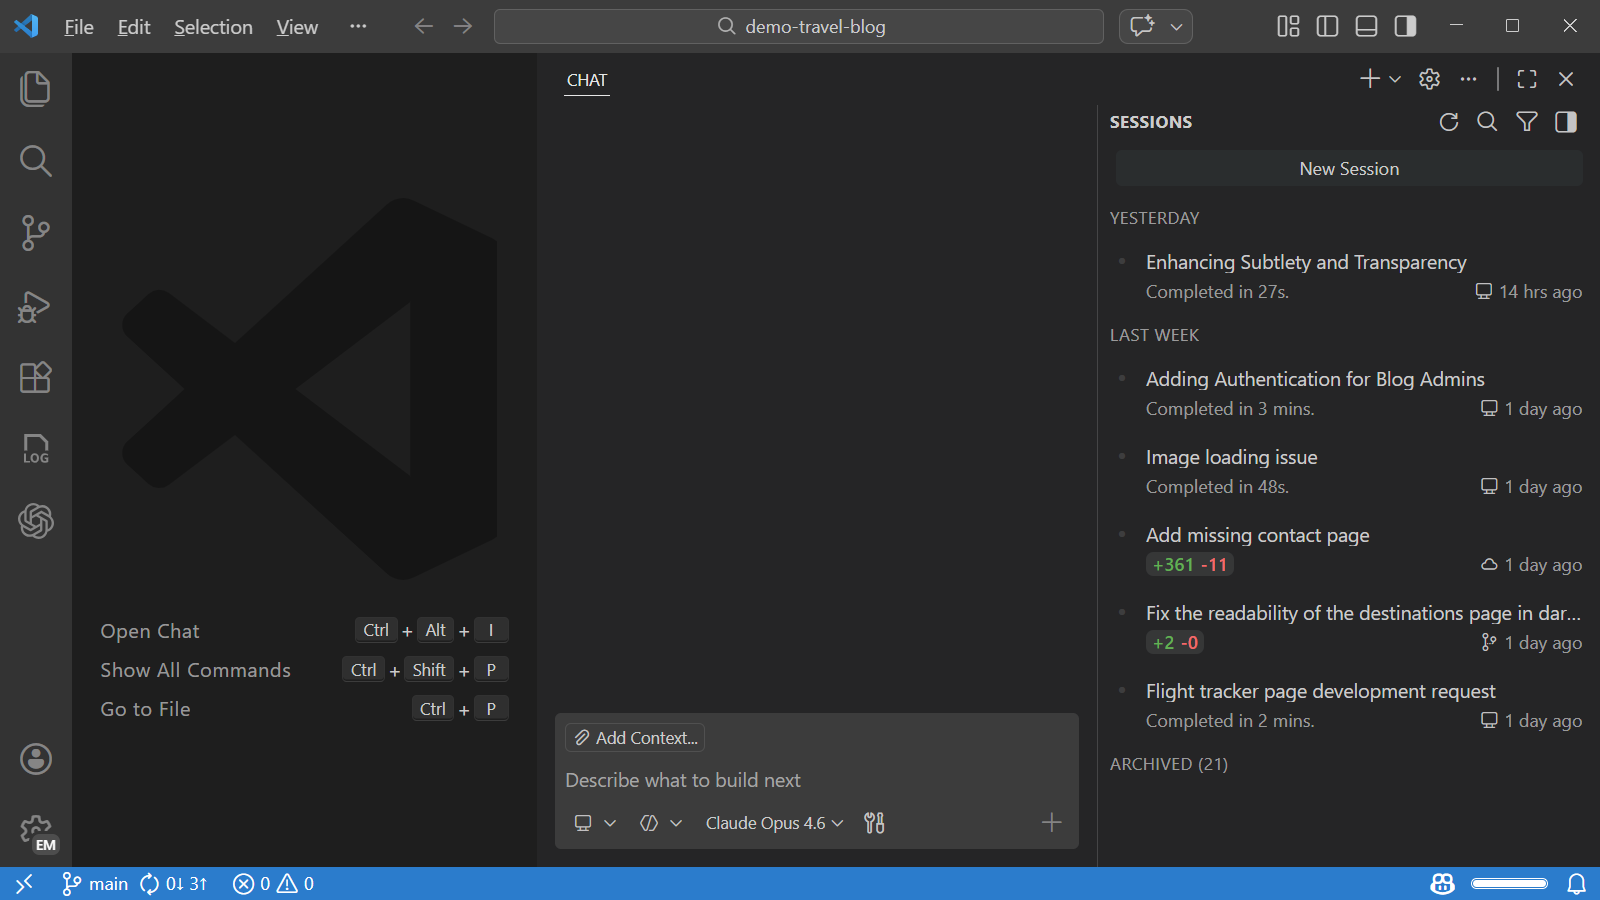
The session list is scoped to your current workspace. If you don't have a workspace open, the list shows all sessions across your workspaces.
Learn more about viewing and managing sessions.
VS Code welcome page
The VS Code welcome page can act as your startup experience for working with chat sessions. It provides quick access to your recent chat sessions, an embedded chat widget for starting new tasks, and quick actions for common tasks.
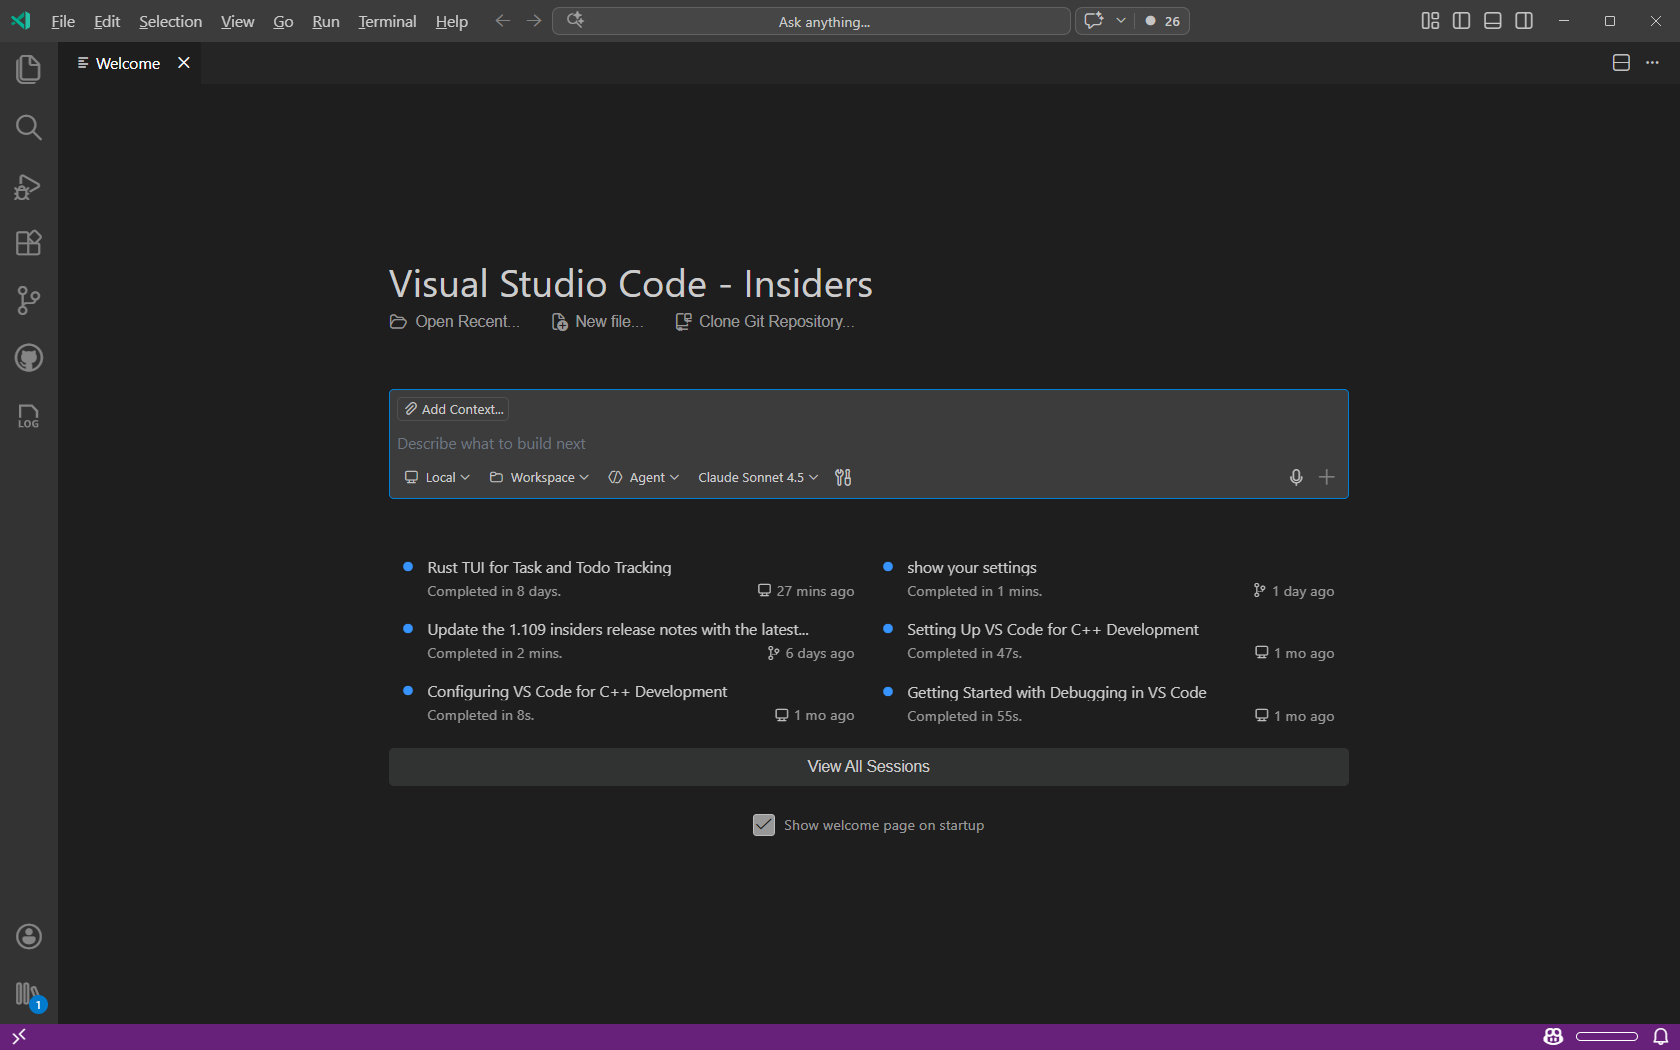
To configure the VS Code welcome page as your startup experience, set agentSessionsWelcomePage.
Send messages while a request is running
Message steering and queuing are experimental features.
You don't have to wait for a response to finish before sending your next message. While a request is in progress, the Send button changes to a dropdown that gives you three options for how to handle the new message.
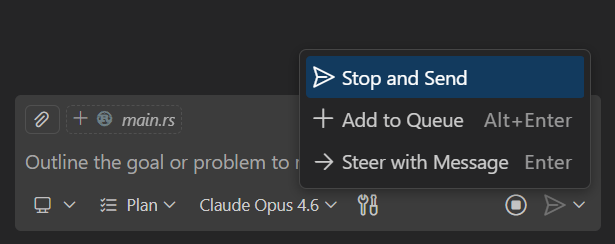
- Add to Queue: your message waits and sends automatically after the current response completes. The current response finishes uninterrupted.
- Steer with Message: signals the current request to yield after finishing the current tool execution. The current response stops and your new message processes immediately. Use this to redirect the agent when it's heading in the wrong direction.
- Stop and Send: cancels the current request entirely and sends your new message right away.
The default action for the Send button is configurable. Use steer (default) or queue.
Reorder pending messages
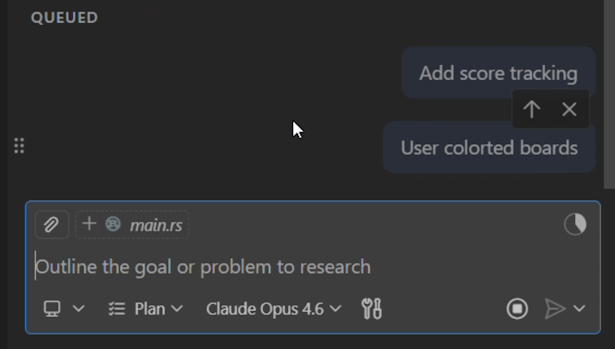
When you have multiple pending messages (queued or steering), you can drag and drop them to change the order in which they are processed. A drag handle appears on hover when more than one message of the same type is pending.
Navigate between prompts in a chat session
Use the following keyboard shortcuts to navigate between prompts in a chat session:
- ⌥⌘↑ (Windows, Linux Ctrl+Alt+Up): Go to the previous prompt in the chat session.
- ⌥⌘↓ (Windows, Linux Ctrl+Alt+Down): Go to the next prompt in the chat session.
- ⌥⌘PageUp (Windows, Linux Ctrl+Alt+PageUp): Go to the previous code block in the chat session.
- ⌥⌘PageDown (Windows, Linux Ctrl+Alt+PageDown): Go to the next code block in the chat session.
Save and export chat sessions
You can save chat sessions to preserve important conversations or reuse them later for similar tasks.
Export a chat session as a JSON file
You can export a chat session to save it for later reference or share it with others. Exporting a chat session creates a JSON file that contains all prompts and responses from the session.
To export a chat session:
-
Open the chat session you want to export in the Chat view.
-
Run the Chat: Export Chat... command from the Command Palette (⇧⌘P (Windows, Linux Ctrl+Shift+P)).
-
Choose a location to save the JSON file.
Alternatively, you can copy individual prompts or responses to the clipboard by right-clicking the message and selecting Copy. To copy the entire chat session in Markdown format, right-click the Chat view and select Copy All.
Save a chat session as a reusable prompt
You can save a chat session as a reusable prompt to reuse for similar tasks.
To save a chat session as a reusable prompt:
-
Open the chat session you want to save in the Chat view.
-
Type
/savePromptin the chat input box and pressEnter.The command creates a
.prompt.mdfile, which is a reusable prompt file that generalizes your current chat conversation into a template with placeholders. You can use prompt files to run the same type of task across different projects or codebases. -
Review and edit the generated prompt file as needed, then save it to your workspace.
Tips for managing chat sessions
Consider the following tips to help you work effectively with chat sessions:
-
Start a new session for different topics: start a new chat session to avoid carrying over context from unrelated conversations. This helps you get more relevant responses.
-
Use editor tabs for side-by-side comparisons: open multiple chat sessions as editor tabs to compare different approaches or solutions side-by-side.
-
Use separate windows for multi-monitor setups: open chat in a separate window on a secondary monitor to keep it visible while you work on code in the main window.
-
Background tasks with remote agents: use remote coding agents to perform AI tasks in the background while you continue working in VS Code.
-
Interactive agent sessions: use local agent sessions for interactive tasks that require real-time input and feedback.