Use prompt files in VS Code
Prompt files, also known as slash commands, let you simplify prompting for common tasks by encoding them as standalone Markdown files that you can invoke directly in chat. Each prompt file includes task-specific context and guidelines about how the task should be performed.
Unlike custom instructions that are applied automatically, you invoke prompt files manually in chat.
Use prompt files to:
- Simplify prompting for common tasks, such as scaffolding a new component, running and fixing tests, or preparing a pull request
- Override default behavior of a custom agent, such as creating a minimal implementation plan or generating mockups for API calls
Prompt files, agents, or skills? Use prompt files for lightweight, single-task prompts. Use custom agents when you need a persistent persona with its own tool restrictions and handoffs. Use agent skills when you need a portable, multi-file capability with scripts and resources.
Use the Agent Customizations editor (Preview) to discover, create, and manage all your agent customizations in one place. Run Chat: Open Customizations from the Command Palette.
Prompt file locations
You can define prompt files for a specific workspace or at the user level, where they are available across all your workspaces. The following table lists the default file locations for prompt files based on their scope. You can configure additional file locations for workspace prompt files with the chat.promptFilesLocations setting.
| Scope | Default file location |
|---|---|
| Workspace | .github/prompts folder |
| User profile | Your user data (specific to your VS Code profile) |
To create a prompt file in user data, use the Agent Customizations editor or use the Chat: New Prompt File command.
In a monorepo, enable chat.useCustomizationsInParentRepositories to discover prompt files from the parent repository root. Learn more about parent repository discovery.
Prompt file format
Prompt files are Markdown files with the .prompt.md extension. The optional YAML frontmatter header configures the prompt's behavior:
| Field | Required | Description |
|---|---|---|
description |
No | A short description of the prompt. |
name |
No | The name of the prompt, used after typing / in chat. If not specified, the file name is used. |
argument-hint |
No | Hint text shown in the chat input field to guide users on how to interact with the prompt. |
agent |
No | The agent used for running the prompt: ask, agent, plan, or the name of a custom agent. By default, the current agent is used. If tools are specified, the default agent is agent. |
model |
No | The language model used when running the prompt. If not specified, the currently selected model in model picker is used. |
tools |
No | A list of tool or tool set names that are available for this prompt. Can include built-in tools, tool sets, MCP tools, or tools contributed by extensions. To include all tools of an MCP server, use the <server name>/* format.Learn more about tools in chat. |
If a given tool is not available when running the prompt, it is ignored.
The body contains the prompt text in Markdown format. Provide specific instructions, guidelines, or any other relevant information that you want the AI to follow.
You can reference other workspace files by using Markdown links. Use relative paths to reference these files, and ensure that the paths are correct based on the location of the prompt file.
To reference agent tools in the body text, use the #tool:<tool-name> syntax. For example, to reference the browser tool, use #tool:browser.
If you want the user to provide additional information, you can use the vscode/askQuestion tool. You can also use a syntax like ${input:variableName}, ${input:variableName:placeholder}. Most language models understand this syntax and will prompt for these inputs.
The following examples demonstrate how to use prompt files. For more community-contributed examples, see the Awesome Copilot repository.
Example: generate a React form component
---
agent: 'agent'
model: GPT-4o
tools: ['search/codebase', 'vscode/askQuestions']
description: 'Generate a new React form component'
---
Your goal is to generate a new React form component based on the templates in the Github repo contoso/react-templates.

Use the #tool:vscode/askQuestions to ask for the form name and fields if not provided.

Requirements for the form:
* Use form design system components: [design-system/Form.md](../docs/design-system/Form.md)
* Use `react-hook-form` for form state management:
* Always define TypeScript types for your form data
* Prefer *uncontrolled* components using register
* Use `defaultValues` to prevent unnecessary rerenders
* Use `yup` for validation:
* Create reusable validation schemas in separate files
* Use TypeScript types to ensure type safety
* Customize UX-friendly validation rules
Example: perform a security review of a REST API
---
agent: 'ask'
model: Claude Sonnet 4
description: 'Perform a REST API security review'
---
Perform a REST API security review and provide a TODO list of security issues to address.

* Ensure all endpoints are protected by authentication and authorization
* Validate all user inputs and sanitize data
* Implement rate limiting and throttling
* Implement logging and monitoring for security events

Return the TODO list in a Markdown format, grouped by priority and issue type.
Create a prompt file
When you create a prompt file, choose whether to store it in your workspace or user profile. Workspace prompt files apply only to that workspace, while user prompt files are available across multiple workspaces.
To create a prompt file:
Type /prompts in the chat input to quickly open the Configure Prompt Files menu.
-
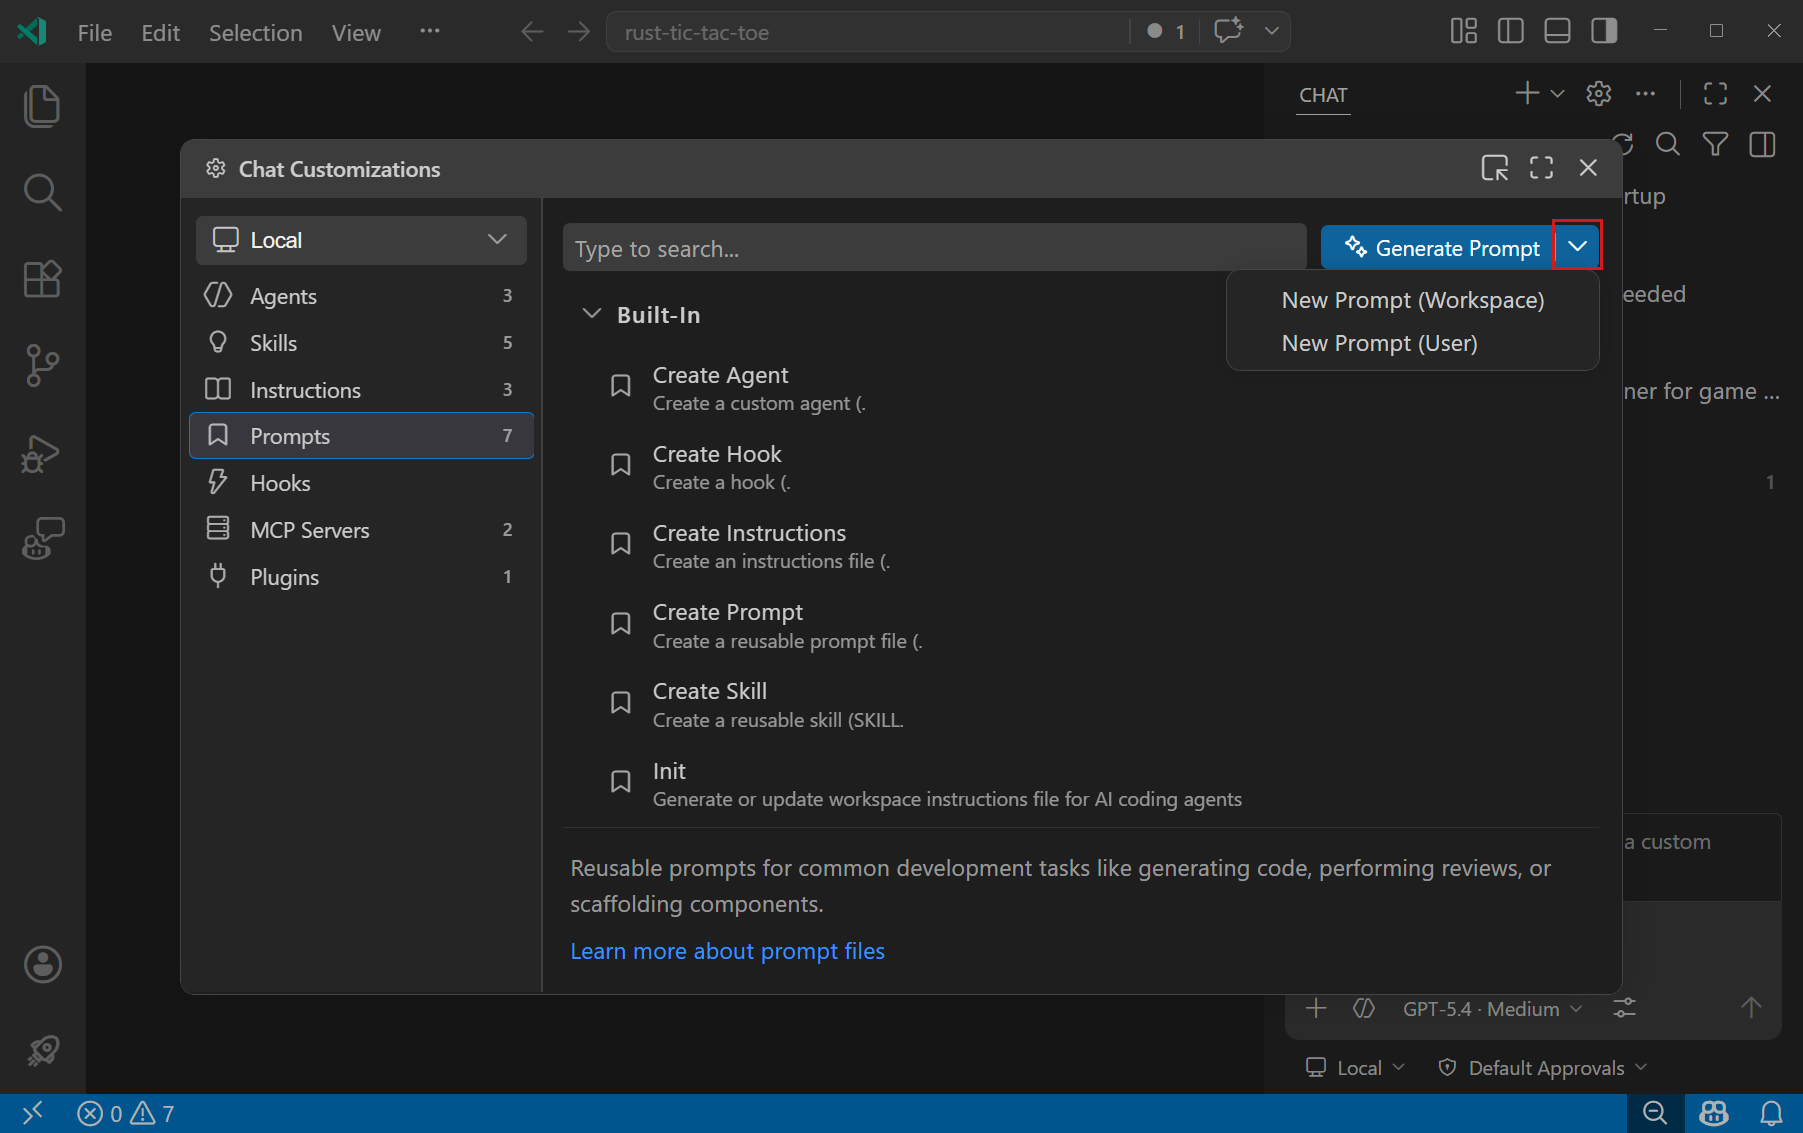
In the Chat view, select Configure Chat (gear icon) to open the Agent Customizations editor and then select the Prompts tab.
-
Select New Prompt (Workspace) or New Prompt (User) from the dropdown, depending on where you want to store the prompt file.
Alternatively, use the Chat: New Prompt File or Chat: New Untitled Prompt File command from the Command Palette (⇧⌘P (Windows, Linux Ctrl+Shift+P)).
-
Select the location and enter a file name for your prompt file. This is the default name that appears when you type
/in chat. -
Author the chat prompt by using Markdown formatting.
- Fill in the YAML frontmatter at the top of the file to configure the prompt's description, agent, tools, and other settings.
- Add instructions for the prompt in the body of the file.
You can modify existing prompt files by opening them in the Agent Customizations editor.
Generate a prompt file with AI
You can use AI to generate a prompt file based on a description of the task. Type /create-prompt in chat and describe the task you want to automate (for example, "a prompt for generating unit tests"). The agent asks clarifying questions, generates a .prompt.md file with appropriate frontmatter and instructions, and offers you a choice between workspace and user storage.
You can also extract a reusable prompt from an ongoing conversation. For example, after a multi-turn chat session, ask "turn this into a reusable prompt" or "save this workflow as a prompt", and the agent creates a prompt file that captures the workflow.
You can also generate a prompt file from the Agent Customizations editor by selecting Generate Prompt from the dropdown.
Use a prompt file in chat
You have multiple options to run a prompt file:
-
In the Chat view, type
/followed by the prompt name in the chat input field. Agent skills also appear as slash commands alongside prompt files.You can add extra information in the chat input field. For example,
/create-react-form formName=MyFormor/create-api for listing customers. -
Run the Chat: Run Prompt command from the Command Palette (⇧⌘P (Windows, Linux Ctrl+Shift+P)) and select a prompt file from the Quick Pick.
-
Open the prompt file in the editor, and press the play button in the editor title area. You can choose to run the prompt in the current chat session or open a new chat session.
This option is useful for quickly testing and iterating on your prompt files.
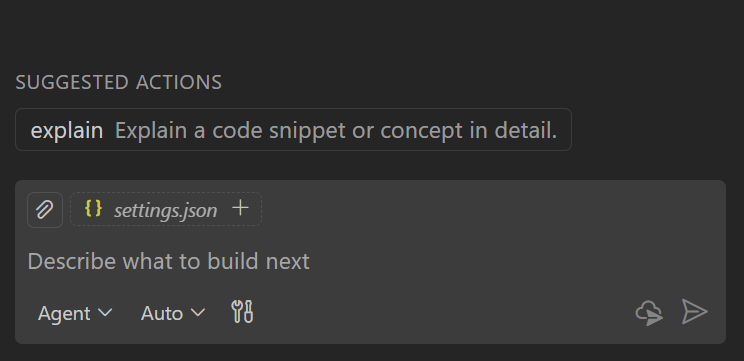
Use the chat.promptFilesRecommendations setting to show prompts as recommended actions when starting a new chat session.
Tool list priority
You can specify the list of available tools for both a custom agent and prompt file by using the tools metadata field. Prompt files can also reference a custom agent by using the agent metadata field.
The list of available tools in chat is determined by the following priority order:
- Tools specified in the prompt file (if any)
- Tools from the referenced custom agent in the prompt file (if any)
- Default tools for the selected agent (if any)
Sync user prompt files across devices
VS Code can sync your user prompt files across multiple devices by using Settings Sync.
To sync your user prompt files, enable Settings Sync and run Settings Sync: Configure from the Command Palette (⇧⌘P (Windows, Linux Ctrl+Shift+P)). Select Prompts and Instructions from the list of settings to sync.
Tips for writing effective prompts
-
Clearly describe what the prompt should accomplish and what output format is expected.
-
Provide examples of the expected input and output to guide the AI's responses.
-
Use Markdown links to reference custom instructions rather than duplicating guidelines in each prompt.
-
Take advantage of built-in variables like
${selection}and input variables to make prompts more flexible. -
Use the editor play button to test your prompts and refine them based on the results.
Frequently asked questions
How do I know where a prompt file comes from?
Prompt files can come from different sources: built-in, user-defined in your profile, workspace-defined prompts in your current workspace, or extension-contributed prompts.
To identify the source of a prompt file:
- Select Chat: Configure Prompt Files from the Command Palette (⇧⌘P (Windows, Linux Ctrl+Shift+P)).
- Hover over the prompt file in the list. The source location is displayed in a tooltip.
Use the chat customization diagnostics view to see all loaded prompt files and any errors. Right-click in the Chat view and select Diagnostics. Learn more about troubleshooting AI in VS Code.